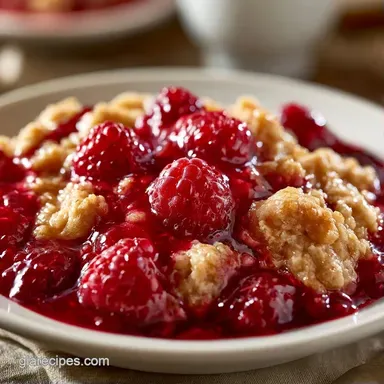
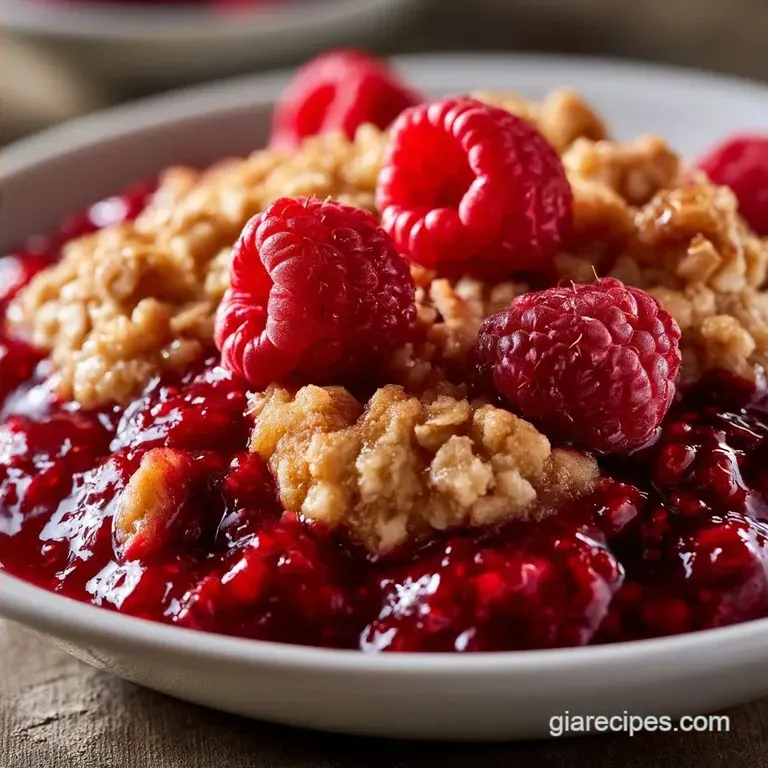
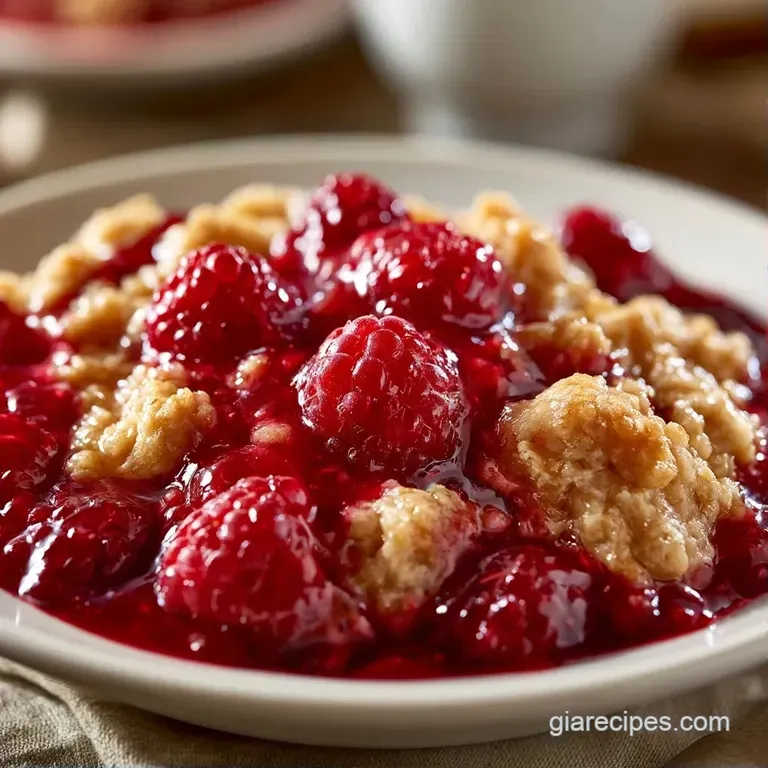
Old Fashioned Fresh Raspberry Crisp
- Time: 10 min active + 30 min bake (15 min resting)
- Flavor/Texture Hook: Tart berries with a mahogany gold, crunchy crust
- Perfect for: Summer dinner parties or a cozy Sunday treat
- Making a Homemade Raspberry Crisp
- The Logic Behind the Bake
- Why These Ingredients Work
- The Right Stuff
- Essential Baking Gear
- Step by Step Baking Guide
- Fixing Common Texture Issues
- Swaps and Creative Twists
- Adjusting the Batch Size
- Common Baking Myths
- Keeping it Fresh
- Ways to Serve it
- Recipe FAQs
- 📝 Recipe Card
That smell is the first thing that hits you, a thick, jammy aroma that fills every corner of the house. I remember the first time I tried making this for a family gathering. I was so worried about the berries turning into a soup that I added too much thickener, and it ended up feeling like a gummy bear.
It was a lesson in trust.
The magic is in the bubbling. When those raspberries hit the heat, they release all that bright, wild flavor. You want a dessert that feels like it belongs in a rustic farmhouse kitchen, something approachable but impressive.
This Raspberry Crisp is all about the balance of textures. You get the soft, almost melted fruit at the bottom and that shattering, buttery layer on top. It is an art form in simplicity.
Making a Homemade Raspberry Crisp
The goal here is to let the fruit shine. Raspberries have a natural brightness that can get lost if you overdo the sugar. By using a bit of lemon juice, we wake up the berries, making them pop against the rich, brown sugar topping.
I have found that the best results come from not over mixing the topping. You want those little clumps of butter to stay intact. They create tiny steam pockets in the oven, which is what gives the crust its signature snap.
If you are planning this for a party, it holds heat remarkably well. You can bake it slightly ahead of time and it will stay warm for a while, though it is always a treat when it comes out of the oven sizzling.
The Logic Behind the Bake
- Cold Butter: Keeping the butter chilled ensures it doesn't melt into the flour immediately. This creates a flaky, pebbled texture rather than a flat cookie.
- Cornstarch Balance: According to King Arthur Baking, cornstarch helps bind the fruit juices into a thick sauce. This prevents the bottom from becoming watery.
- Acid Integration: The lemon juice cuts through the heavy fat of the butter, keeping the dessert from feeling too cloying.
| Feature | Fast Version | Classic Version |
|---|---|---|
| Fruit | Frozen Mix | Fresh Raspberries |
| Topping | Pre made crumble | Hand rubbed Oats |
| Texture | Soft/Uniform | Clumpy/Crunchy |
| Effort | 5 min prep | 10 min prep |
Why These Ingredients Work
| Ingredient | What It Does | Best Swap |
|---|---|---|
| Fresh Raspberries | Provides the tart, jammy base | Frozen raspberries (thawed) |
| Rolled Oats | Adds chew and toasted flavor | Quick oats (slightly softer) |
| Brown Sugar | Gives a deep, caramel note | Coconut sugar |
| Cornstarch | Thickens the berry juices | Arrowroot powder |
The Right Stuff
- 6 cups (850g) fresh raspberries
- 1/2 cup (100g) granulated sugar Why this? Dissolves quickly to create syrup
- 2 tbsp (16g) cornstarch Why this? Essential for a jammy consistency
- 1 tbsp (15ml) fresh lemon juice
- 1 tsp (2g) ground cinnamon
- 1 cup (90g) old-fashioned rolled oats Why this? Better structural crunch than quick oats
- 1 cup (125g) all purpose flour
- 1 cup (200g) packed light brown sugar
- 1/2 tsp (3g) salt
- 1/2 cup (113g) unsalted butter, chilled and cubed Why this? Cold fat equals a crispier top
Essential Baking Gear
You will need a 9 inch baking dish, preferably ceramic or glass, as these hold heat evenly. A pastry cutter is great for the topping, but a sturdy fork works just as well. I suggest a large mixing bowl for the berries so you don't crush them while tossing.
Step by step Baking Guide
- Preheat your oven to 350°F (175°C) and lightly grease a 9 inch baking dish.
- In a mixing bowl, gently toss the fresh raspberries with granulated sugar, cornstarch, lemon juice, and cinnamon until the berries look like a thick, glossy syrup.
- Pour the raspberry mixture into the prepared baking dish and spread evenly.
- In a separate bowl, whisk together the rolled oats, flour, brown sugar, and salt.
- Add the chilled, cubed butter to the dry ingredients. Use a pastry cutter or fork to work the butter in until the mixture resembles coarse crumbs with pea sized clumps.
- Scatter the oat topping evenly over the raspberry base, leaving some berries slightly visible around the edges.
- Place the dish on the center rack of the oven and bake for 30 minutes until the fruit juices are bubbling and the topping is a deep mahogany gold.
- Remove from the oven and let the Raspberry Crisp rest for 15 minutes to allow the filling to set.
Fixing Common Texture Issues
The Filling is Too Runny
This usually happens if the berries were overly ripe or if the cornstarch wasn't fully incorporated. If you notice it's too liquid after baking, let it cool longer. The pectin in the raspberries needs time to firm up.
The Topping Burnt Before the Fruit Bubbled
Your oven might be running hot, or the topping was spread too thin. Next time, tent the dish with foil for the last 10 minutes of baking to protect the crust.
The Topping is Sandy and Not Clumpy
This occurs when the butter is too warm or over mixed. You want to stop working the dough as soon as you see those small clumps.
| Problem | Root Cause | Solution |
|---|---|---|
| Watery Base | Too much fruit moisture | Increase cornstarch by 1 tsp |
| Pale Crust | Oven temp too low | Check oven with thermometer |
| Tough Topping | Over mixing flour | Use a fork, not a mixer |
Swaps and Creative Twists
If you want a nuttier flavor, add 1/2 cup of chopped pecans or walnuts to the oat mixture. It adds a lovely earthiness to the Raspberry Crisp. For those who want something different, you can try a [Fresh Raspberry Crisp without Oats] by replacing the oats with extra flour and a bit of almond meal for a more traditional crumble.
If you are looking for a vegan version, use chilled coconut oil (solid state) instead of butter. It keeps the fat content high and maintains that essential crunch. For a more zesty kick, grate some lemon zest directly into the berry mixture.
If you love fruit based desserts but want something portable, these techniques are similar to making Apple Pie Bombs, though the oven bake is what makes this crisp so cozy.
Adjusting the Batch Size
Scaling Down (Half Batch): Use a 6 inch or 7 inch baking dish. Reduce the baking time by about 20%, checking at the 20 minute mark. Since you can't easily halve an egg (though this recipe doesn't use them), just scale the dry ingredients linearly.
Scaling Up (Double Batch): Do not put all the berries in one deep dish, or the middle won't cook. Use two 9 inch dishes instead. Keep the temperature at 350°F but increase the time by 5-10 minutes if the dishes are crowded in the oven.
Only increase the salt and cinnamon to 1.5x to avoid overpowering the fruit.
| Scale | Pan Size | Temp Adjustment | Time Adjustment |
|---|---|---|---|
| 1/2 Batch | 6 inch | None | -6 mins |
| 2x Batch | Two 9 inch | None | +5-10 mins |
Common Baking Myths
Some people believe you need to pre cook the berries on the stove to ensure they are soft. This is not true. The oven heat is plenty for fresh raspberries, and pre cooking often destroys the fresh, bright flavor.
Another myth is that you should use melted butter for a "faster" blend. Actually, melted butter leads to a sandy, flat topping. Cold butter is what creates the steam pockets that make the Raspberry Crisp topping light and crisp.
Keeping it Fresh
Store any leftovers in an airtight container in the fridge for up to 3 days. When you reheat it, avoid the microwave if you can. Use a toaster oven or a standard oven at 300°F for 10 minutes to bring back that crunch.
For the freezer, you can freeze the unbaked Raspberry Crisp. Assemble the base and topping, wrap tightly in foil, and freeze for 2 months. Bake it directly from frozen, but add about 10-15 minutes to the cook time.
To avoid waste, don't throw away the raspberry stems if you are using a home grown crop. You can simmer them with a bit of sugar and water to create a light, floral syrup for pancakes.
Ways to Serve it
The classic pairing is a scoop of high-quality vanilla bean ice cream. The cold cream melts into the hot berries, creating a rich sauce. For a more sophisticated twist, try a dollop of crème fraîche or a drizzle of salted caramel.
If you are serving this at a large party, you might want a variety of sweets. This pairs well with something light, like Fluffy Vanilla Cupcakes, to give your guests a choice between something tart and something sweet.
Right then, you have everything you need. Just remember to let it rest before diving in. The patience pays off when the filling is set and the Raspberry Crisp is perfectly jammy. Trust the process, enjoy the aroma, and let the fruit do the work.
Recipe FAQs
Can I use fresh raspberries instead of frozen?
Yes, fresh is preferred. Fresh berries maintain a better structure and prevent the filling from becoming overly watery compared to frozen options.
How do I make this raspberry crisp?
Toss raspberries with sugar, cornstarch, lemon juice, and cinnamon, then top with an oat crumble. Bake the mixture at 350°F for 30 minutes until the topping is mahogany gold.
Should I wash fresh raspberries before using them?
Yes, rinse them gently in a colander. Use cold water and a light touch to avoid crushing the berries before adding the sugar and cornstarch.
Is it true that melting the butter makes the topping easier to mix?
No, this is a common misconception. Use chilled, cubed butter to create pea-sized clumps, which ensures the topping remains light and crumbly rather than dense.
How do I prevent the filling from becoming too watery?
Coat the berries in cornstarch. This thickener binds the fruit juices into a thick, glossy syrup during the 30-minute baking process.
Why must the crisp rest for 15 minutes before serving?
To allow the filling to set. Resting prevents the syrup from running and ensures a cleaner, more stable scoop when serving.
How do I cook fresh raspberries for this dessert?
Bake them in a 9 inch dish at 350°F for 30 minutes. If you enjoyed mastering the golden brown finish here, see how that technique applies to our baked zucchini.
Fresh Raspberry Crisp