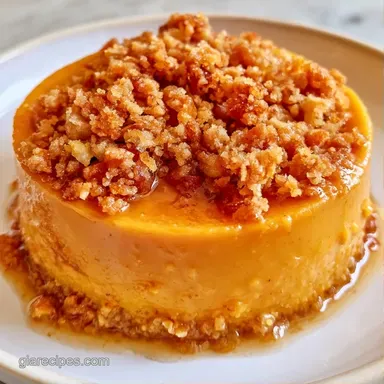
Crispy Pumpkin Crunch Cake
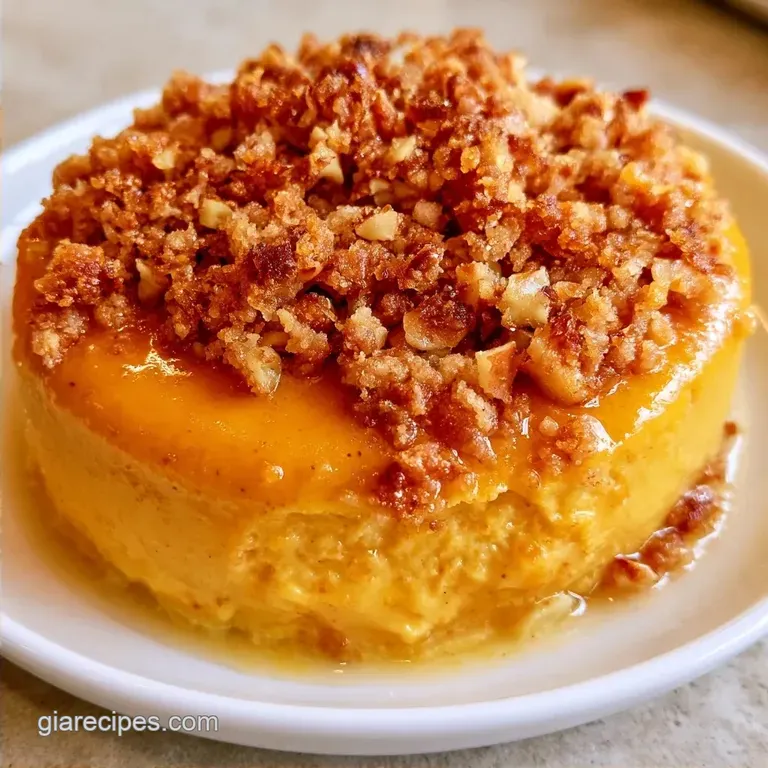
- Time: 10 min active + 60 min baking
- Flavor/Texture Hook: Buttery, crispy topping over a smooth custard
- Perfect for: Holiday potlucks or family desserts
- Pumpkin Crunch Cake for the Holidays
- Why This Texture Works
- Necessary Ingredients and Swaps
- Equipment for the Job
- Putting the Layers Together
- Fixing Common Texture Issues
- Flavor Variations to Try
- Adjusting the Batch Size
- Keeping Leftovers Fresh
- Finishing Touches and Garnishes
- Recipe FAQs
- 📝 Recipe Card
The sound of a fork cracking through a toasted, buttery crust is the best part of this dessert. But many home cooks face a frustrating problem: the "soggy middle." This happens when the cake mix sinks into the pumpkin puree, turning the top into a gummy, undercooked layer rather than a crisp topping.
I used to struggle with that exact texture. I'd pull the pan out, and the center would feel like a wet sponge. The fix is all in the fat distribution. By drizzling melted butter across the dry mix and avoiding the urge to stir, you create a barrier that fries the topping in the oven.
You can expect a dessert that feels like a hybrid between a pumpkin pie and a crumble. This Pumpkin Crunch Cake relies on a few simple ingredients to create a professional result that looks like an heirloom recipe.
Pumpkin Crunch Cake for the Holidays
Why This Texture Works
The magic of this dish is in how the layers interact without actually mixing.
Concentrated Milk: Using evaporated milk provides more milk solids than regular milk, which helps the base set into a silky custard.
The Fat Barrier: Melted butter binds the dry cake mix into a crust, preventing it from absorbing too much moisture from the pumpkin.
The Air Gap: Because the mix is sprinkled on top, it toasts in the dry heat of the oven while the custard steams underneath.
| Feature | From Scratch | Cake Mix Shortcut |
|---|---|---|
| Effort | Higher (whisking flour/sugar) | Low (pour and sprinkle) |
| Texture | Soft, cake like | Shattering, crispy crust |
| Prep Time | 25 minutes | 10 minutes |
Necessary Ingredients and Swaps
The base needs to be smooth and uniform to ensure the cake doesn't separate during the bake.
Pumpkin Puree: Use a plain puree, not the pre spiced pie filling. Why this? Gives you control over the sugar and spice levels. (Substitute: Roasted butternut squash puree).
Evaporated Milk: This is what makes the custard rich. Why this? Higher protein content for a better set. (Substitute: Heavy cream for a denser result).
Yellow Cake Mix: The dry powder creates the crunch. Why this? Contains leavening and sugar that caramelizes. (Substitute: Spice cake mix for a deeper flavor).
Chopped Pecans: Adds an earthy, toasted note. Why this? Contrasts the soft base with a firm bite. (Substitute: Walnuts or almonds).
Unsalted Butter: The binder for the topping. Why this? Pure fat ensures the crust toasts evenly. (Substitute: Melted coconut oil).
Granulated Sugar, Eggs, Pumpkin Pie Spice, Salt: These provide the sweetness, structure, and warmth.
Equipment for the Job
While a professional setup isn't required, a few key tools make the process much simpler.
A 9x13-inch baking pan is essential. Using a deeper or smaller dish could result in a runny center while the edges overcook. I suggest a metal pan because it conducts heat more efficiently, which helps the bottom of the custard set.
For mixing, a large bowl and a sturdy whisk are sufficient. A rubber spatula is useful for smoothing the pumpkin puree into the corners of the pan to prevent gaps. Finally, use a fork to help distribute the butter across the cake mix.
Putting the Layers Together
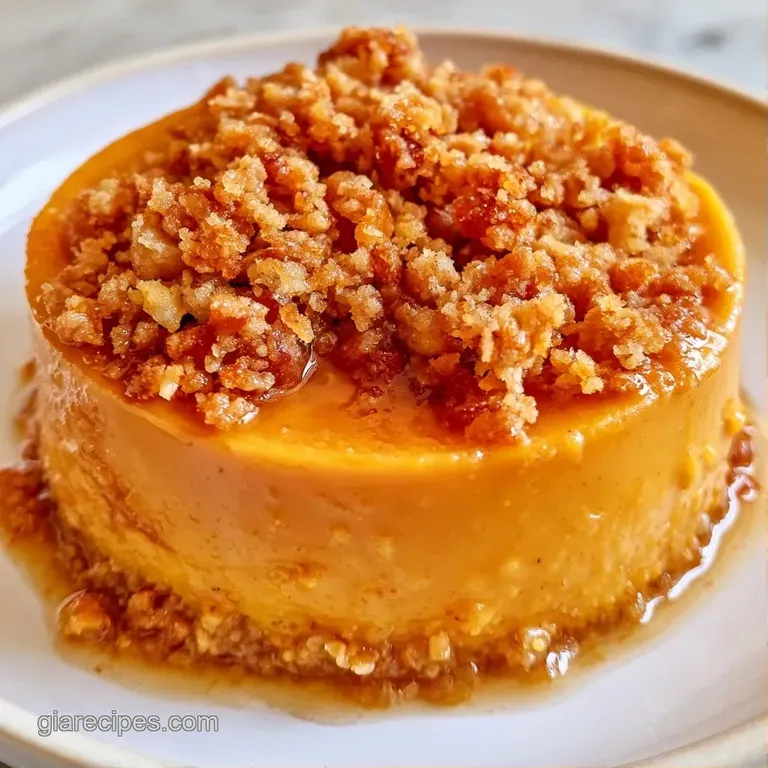
Right then, let's get into the process. Follow these steps to avoid the dreaded soggy crust.
- Preheat oven to 350°F (175°C) and lightly grease a 9x13-inch baking pan.
- In a large bowl, whisk the pumpkin puree, evaporated milk, sugar, eggs, pumpkin pie spice, and salt until the mixture is smooth and uniform.
- Pour the pumpkin mixture into the prepared pan and spread evenly with a spatula.
- Evenly sprinkle the dry yellow cake mix powder over the top until the surface is entirely covered.
- Scatter the chopped pecans across the top of the cake mix.
- Drizzle the melted butter evenly over the cake mix and pecans. Note: Use a fork to gently push butter into dry patches.
- Bake for 50 to 60 minutes until edges are bubbling and the top is deep golden brown.
- Check the center; it should have a slight jiggle but not be liquid.
- Remove from the oven and let cool for 15 minutes until the custard sets fully.
Fixing Common Texture Issues
Even with a plan, home cooking has its quirks. Most issues with this Pumpkin Crunch Cake come down to moisture management.
Handling Soggy Toppings
If the top feels gummy, it usually means the butter didn't cover enough of the dry powder or the oven temp was too low. The cake mix must be "fried" by the butter to stay crisp.
Managing Runny Centers
A liquid center happens if the custard is too thin or the pan is too deep. Give it another 5 minutes in the oven.
Avoiding Overbaked Edges
If the pecans start to burn before the center is set, cover the edges with a strip of foil.
| Problem | Fix |
|---|---|
| Soggy top | Don't stir topping into base |
| Runny center | Bake 5 extra minutes |
| Burnt nuts | Cover with foil halfway through |
Flavor Variations to Try
This recipe is an approachable canvas for different flavors. For a more intense autumn vibe, you can use a spice cake mix instead of yellow. This adds more cinnamon and clove to the crust.
If you want something simpler, my pumpkin dump cake recipe is a great alternative for larger crowds. You could also add a layer of cream cheese mixed with powdered sugar to the bottom of the pan before adding the pumpkin for a cheesecake style base.
For those who prefer a different texture, adding a handful of rolled oats to the topping creates a crumble effect. To keep the flavors balanced, avoid adding too many extra sugars, as the cake mix already provides a lot.
Adjusting the Batch Size
Scaling a custard based dessert requires some care with the eggs. If you want to make a half batch in an 8x8-inch pan, beat one egg in a cup and use half of it. Reduce your bake time by about 20%, but still look for those bubbling edges.
For larger parties, you might be tempted to double the recipe in one huge pan. I don't recommend this, as the center will rarely set. Instead, work in two separate 9x13 pans. For a quicker, lighter version, you might like my healthy pumpkin bake.
When doubling, only increase the salt and pumpkin pie spice to 1.5x. Full double spicing can often become overpowering and mask the flavor of the pumpkin itself.
Keeping Leftovers Fresh
Store any remaining slices in a container with a lid and keep them in the fridge. This Pumpkin Crunch Cake stays fresh for 4 days.
For the freezer, slice the cake first and wrap each piece in parchment paper and foil. It lasts about 2 months. When you're ready to eat it, thaw it in the fridge overnight.
To restore the crunch, don't use a microwave, which makes the crust soft. Instead, pop a slice in a 300°F (150°C) oven for 5-10 minutes.
As for zero waste, don't toss the empty pumpkin puree can. I use it to mix a small amount of glaze or to measure out the melted butter if I don't want to dirty another measuring cup.
Finishing Touches and Garnishes
To make this dessert a piece of art, focus on color balance. The cake is a deep, warm orange and brown, so it needs cool or bright accents to pop.
First, add a dollop of white whipped cream to each slice. This provides a clean, bright contrast. Second, place a single small mint leaf on top for a touch of organic green. Finally, scatter a few red pomegranate seeds around the plate for a vivid, jewel toned finish.
Add these garnishes just before serving to keep the cream from melting and the mint from wilting. For a more rustic look, a simple dusting of powdered sugar works, but the three color strategy makes it feel like a professional dessert.
This homemade Pumpkin Crunch Cake is a celebration of autumn textures. By focusing on the butter drizzle technique, you avoid the common pitfalls and end up with a treat that is as beautiful as it is tasty. Right then, grab your whisk and get started.
Recipe FAQs
What is pumpkin crunch cake?
It is a dessert featuring a smooth pumpkin custard base topped with a buttery, toasted cake mix crust. This treat blends the creamy texture of a pie with the crunch of a crumble.
How do I avoid a gummy center?
Drizzle melted butter evenly over the dry cake mix without stirring. This creates a fat barrier that fries the topping instead of letting it absorb moisture from the custard.
Is it true that you should stir the cake mix into the pumpkin?
Not true. Keeping the cake mix as a separate top layer is what creates the signature crispy crust.
How to arrange the toppings for maximum crunch?
Sprinkle the yellow cake mix and pecans over the pumpkin base. Finish by drizzling melted butter over the surface to bind the crust.
Which components give the base its creamy texture?
Evaporated milk and eggs provide the structure for the smooth base. If you enjoyed the creamy consistency here, see how we achieve a similar richness in our silky cheesecake.
Does the center need to be completely firm before removing from the oven?
No, and here's why. The center should still have a slight jiggle when you pull it out at 350°F, as it finishes setting during the cooling period.
Why should the cake rest for 15 minutes?
Letting the pan rest allows the pumpkin custard to set fully. Cutting into it too early can cause the base to feel runny.
Pumpkin Crunch Cake